Deploy Nuxt on Hostman
How to deploy Nuxt on Hostman?
Hostman is a cloud hosting provider for startups and new projects. It helps to get rid of most routine DevOps operations, saving time for developers and money for companies. Hostman employs a services concept to make it easier to develop complex architecture and scale it in one click.
Hostman provides you with the following features:
- Build and deploy static websites, web apps, docker containers and databases.
- Everything is very transparent, because you see the actual hardware your application is operating on and the actual load average, so you can assess them if something goes wrong.
- You can SSH into your Docker container, providing the perfect balance between abstraction and transparency.
- Hostman automatically sets up an SSL certificate for all your domains and puts a CDN in place to deliver your content as fast as possible.
- Hostman automates CI/CD, pulling, building and launching code as soon as you push a new commit to the repository.
- No vendor lock-in.
- Hostman supports 22 frameworks.
Prerequisites
This guide assumes you already have a Nuxt project to deploy. If you need a project, use the create-nuxt-app to get started.
Setup
Step 1. Create a service
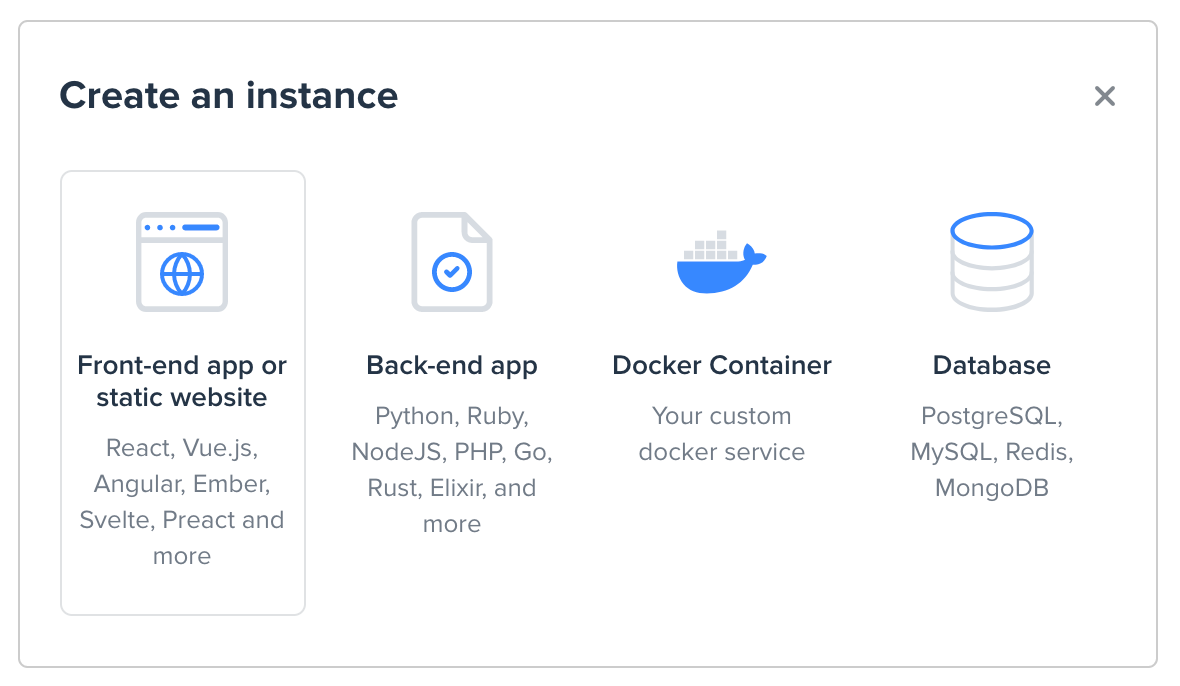
To deploy a Nuxt static website, click Create in the top-left corner of your Dashboard and choose Front-end app or static website.

Step 2. Select the project to deploy
If you are logged in to Hostman with your GitHub, GitLab or Bitbucket account, at this point you will see the repository with your projects, including the private ones.
Choose the project you want to deploy. It must contain the Nuxt app directory that was automatically created after running the yarn create-nuxt-app command.
To access a different repository, click Connect another repository.
If you didn’t use your Git account credentials to log in, you’ll be able to access the necessary account now, and then select the project.
Step 3. Configure the build settings
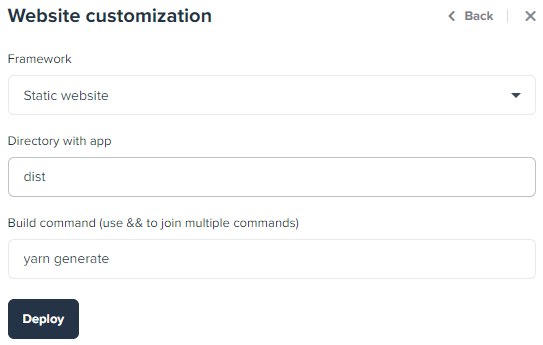
Next, the Website customization window will appear.

Choose the Static website option from the list of frameworks.
The Directory with app points at the directory that will contain the project's files after the build. For Nuxt the directory is dist.
The standard build command will be:
yarn build
It initiates the framework’s command nuxt generate which will create the dist directory with the project’s files.
You can modify the command here if the build process for your project requires it. You can enter multiple commands separated by &&.
Step 4. Deploy
Click Deploy to start the build process.
Once it starts, you will enter the deployment log. If there are any issues with the code, you will get warning or error messages in the log, specifying the cause of the problem.
Usually the log contains all the debugging data you'll need, but we are also here to help you solve the issues, so do not hesitate to contact us via chat.
When the deployment is complete, you will receive an e-mail notification and also see a similar log entry:

All done!
Your project is up and ready.
 Paiva
Paiva
 Florian Reuschel
 Sébastien Chopin
 Daniel Roe
 Rishi Raj Jain
 Clément Ollivier
 Savas Vedova
 Steven Soekha
 Vinícius Alves
 Kareem Dabbeet
 Valentín Costa
 Ryan Skinner
 Alex Hirzel
 Ajeet Chaulagain
 René Eschke
 Nico Devs
 Muhammad
 Nazaré da Piedade
 Naoki Hamada
 Tom
Tom
 Yann Aufray
 Anthony Chu
 Nuzhat Minhaz
 Lucas Portet
 Richard Schloss
 bpy
bpy
 Antony Konstantinidis
 Hibariya
 Jose Seabra
 Eze
Eze
 Florian LEFEBVRE
 Lucas Recoaro
 Julien SEIXAS
 Hugo
Hugo
 Sylvain Marroufin
 Spencer Cooley
 Piotr Zatorski
 Vladimir Semenov
 Harry Allen
 kazuya kawaguchi
 Unai Mengual
 Hyunseung Lee
 Alexandre Chopin
 pooya parsa
 Nick Medrano
 Mosaab Emam
 Iljs Путлер Капут
 Heitor Ramon Ribeiro
 Nero
Nero
 Yoon Han
 Ikko Eltociear Ashimine
 FamCodings
 Ayouli
 F. Hinkelmann
 felipesuri
 Christophe Carvalho Vilas-Boas
 Leoš Literák
 Trizotti